Desktop Catapult Assembly Tutorial
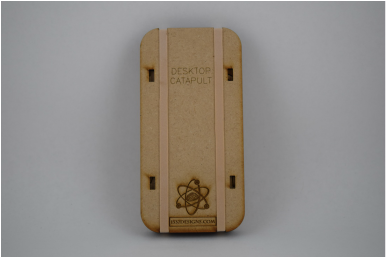
Your Desktop Catapult package comes with everything needed. The pieces are cut with a tight tolerance so they should fit snugly together. However, there is some variance in the thickness of the wood so using a little glue to hold the joints together when loose is advised. You can use nearly any kind of glue with this material (Super Glue, Wood Glue, Elmer's Glue, etc.). Please be careful while assembling this product; too much pressure in the wrong area could break some pieces. I find it is generally helpful to place the receiving end on a flat surface, and then press the insert into the holes with a firm downward pressure when extra force is needed.
You can purchase these catapults from my Etsy site here.
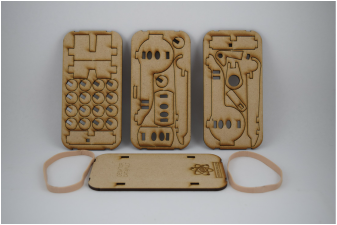
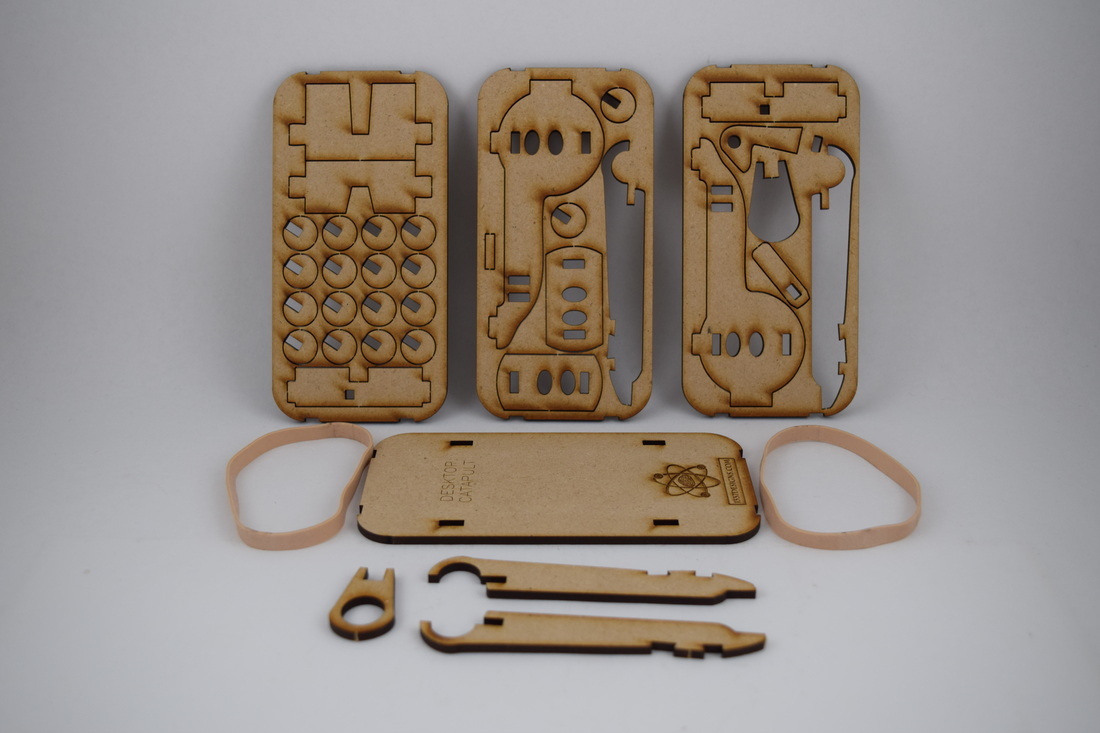
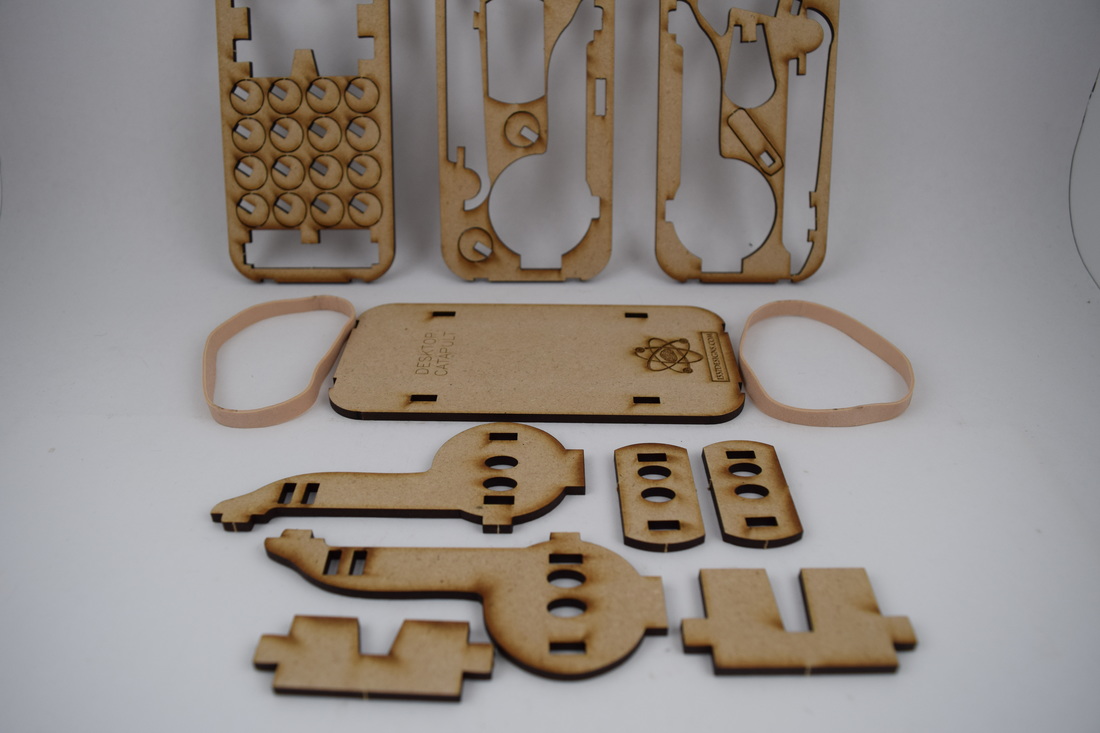
Step 1: Remove the rubber bands, and lay out all four panels.
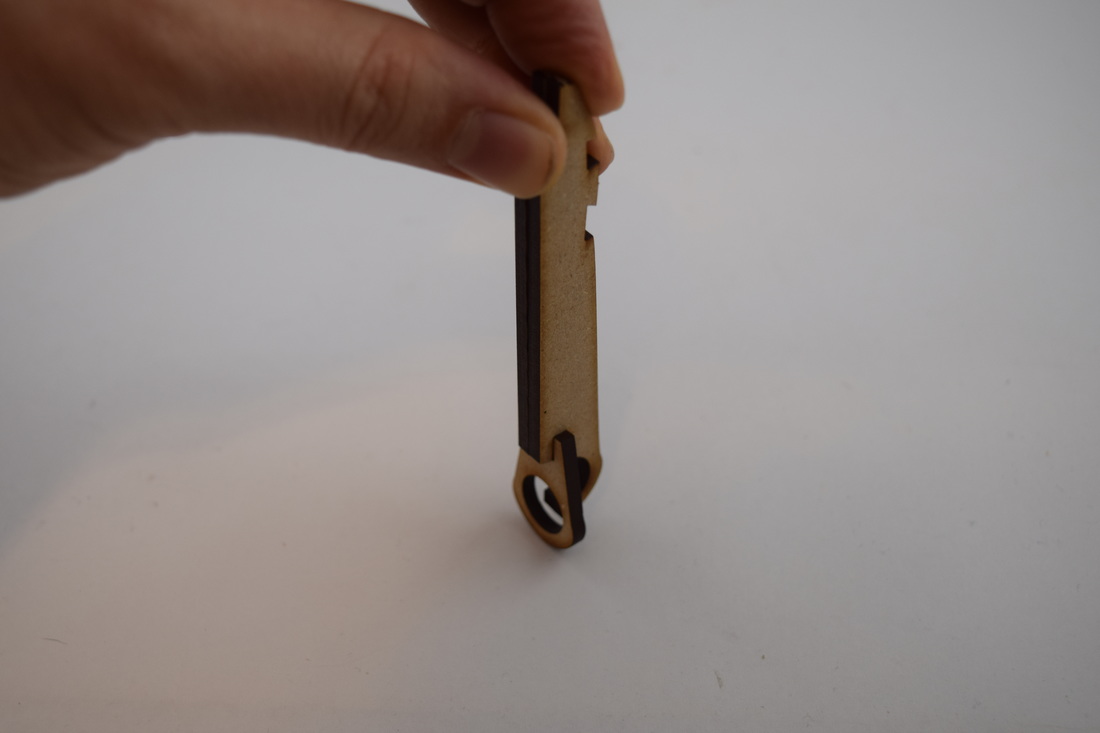
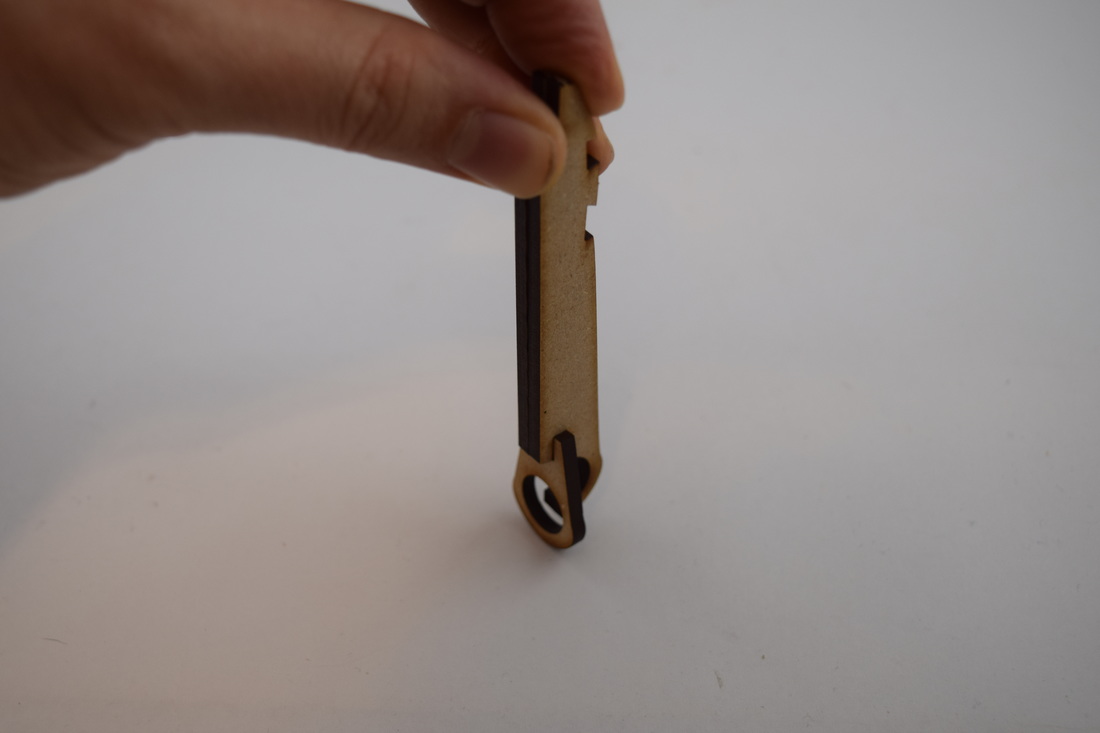
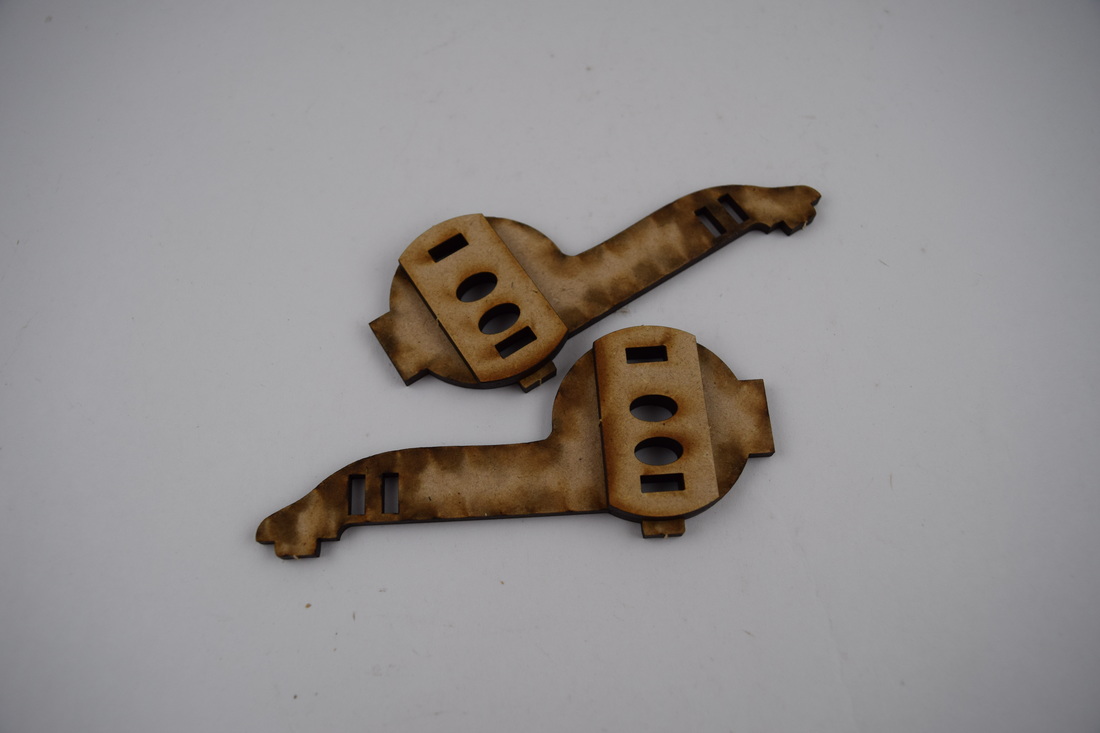
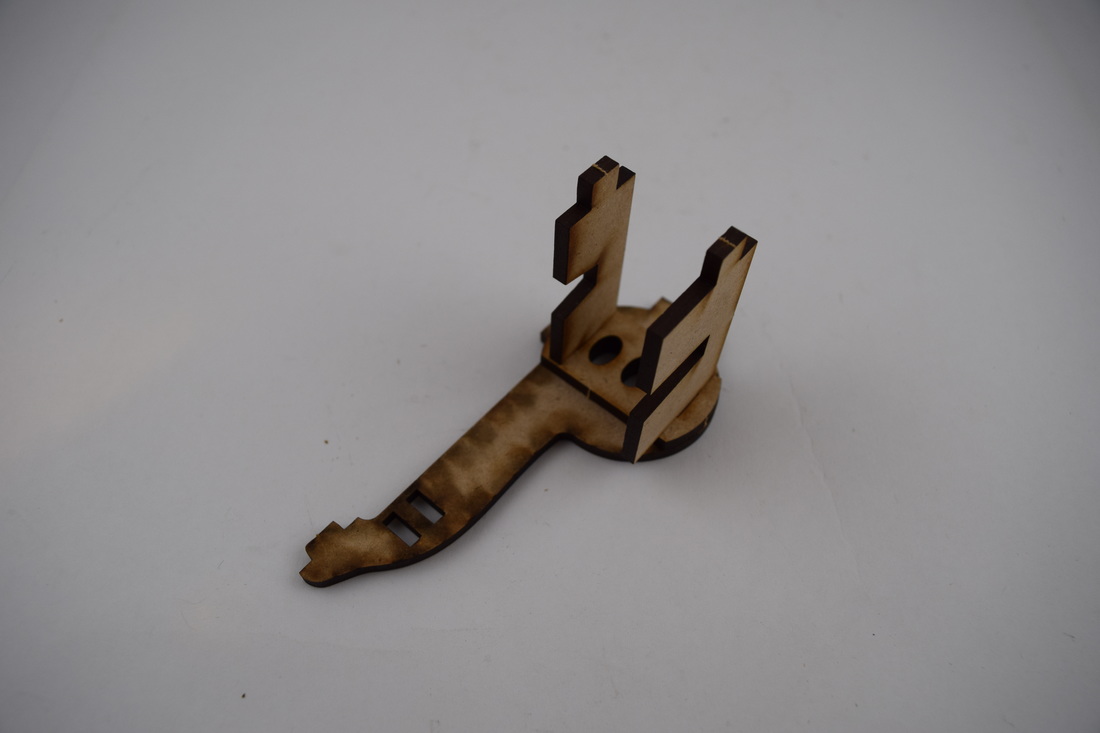
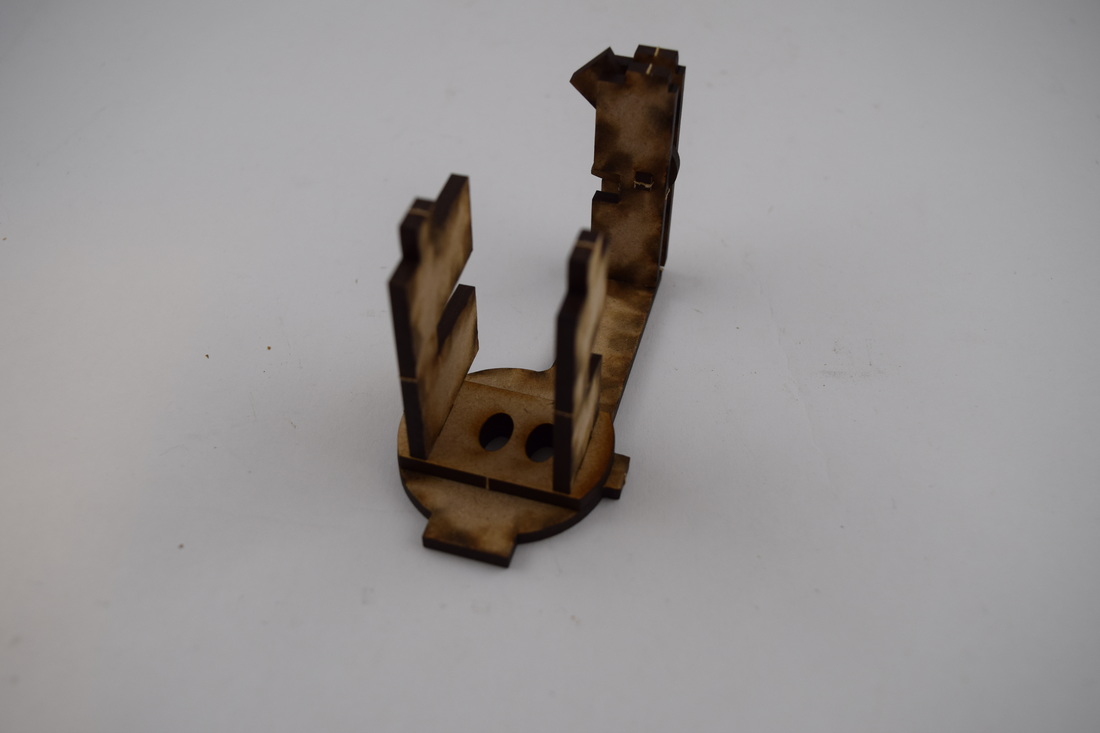
Step 2: Remove the two arm pieces and the basket. Place the two arm pieces together (clean sides out), and fit the basket into the notches as shown here. If needed, stand the arm upright and use down-ward pressure to ensure the basket is securely attached to the arm. Due to some minor variance in the thickness of the wood, you might want to use a little glue on this joint if the pieces are loose at all.
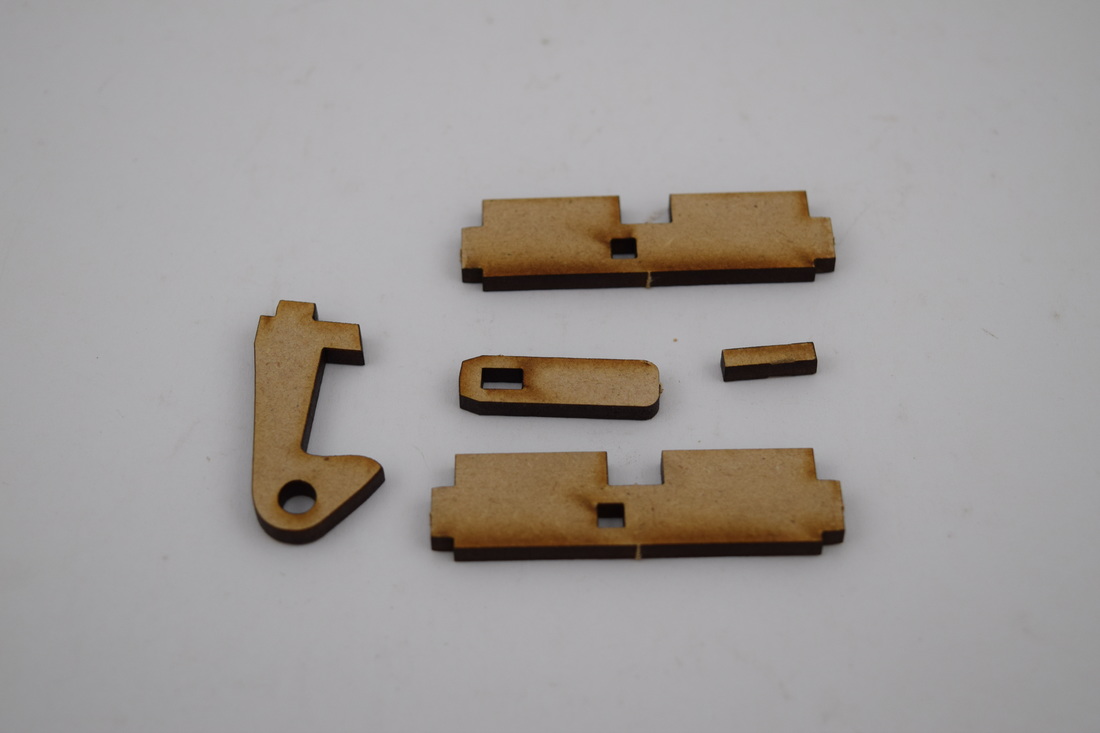
Step 3: Remove the five pieces show above and assemble the Releasing Mechanism. With the clean sides facing you, the center latching piece should have the ledge facing to the right.
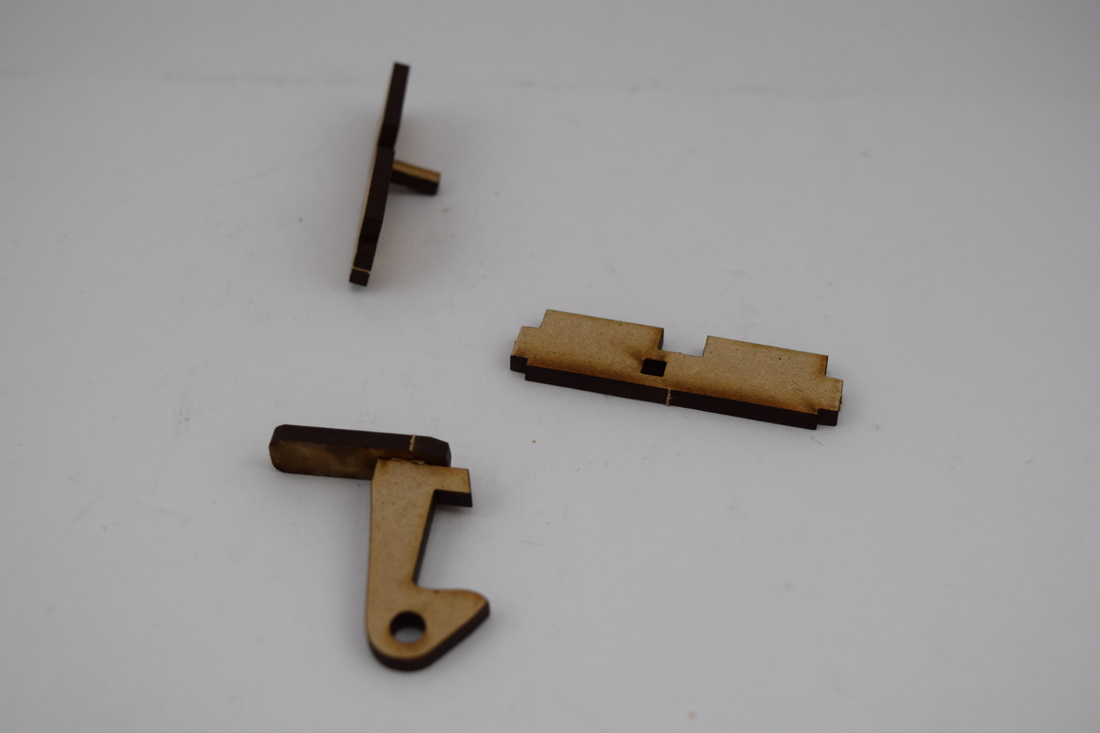
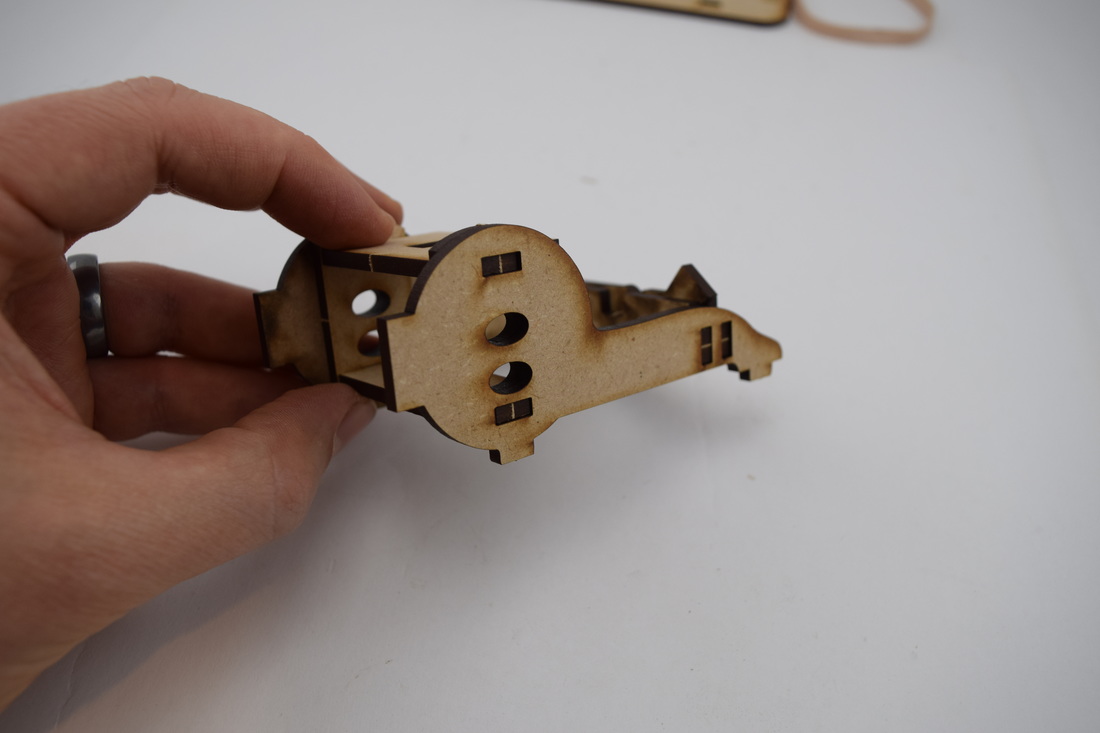
Step 4: Remove the main body pieces shown above. Align the two rectangular braces so they match the holes on the larger side pieces. Then insert the two cross beams, with the larger one on top.
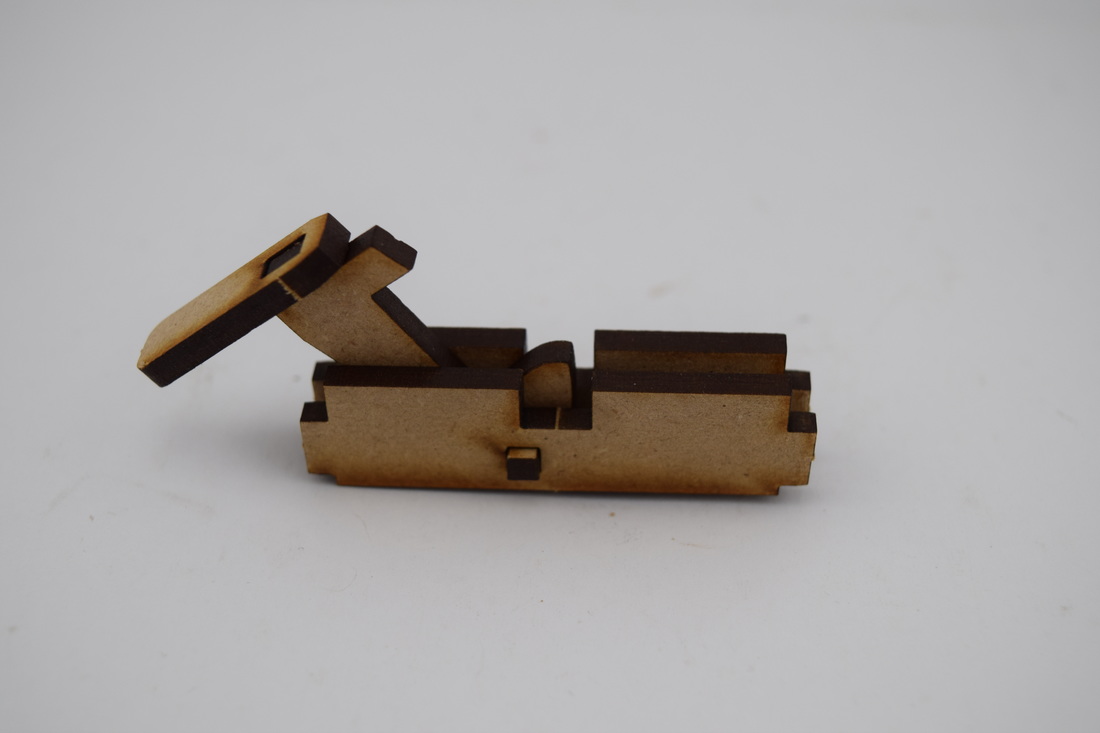
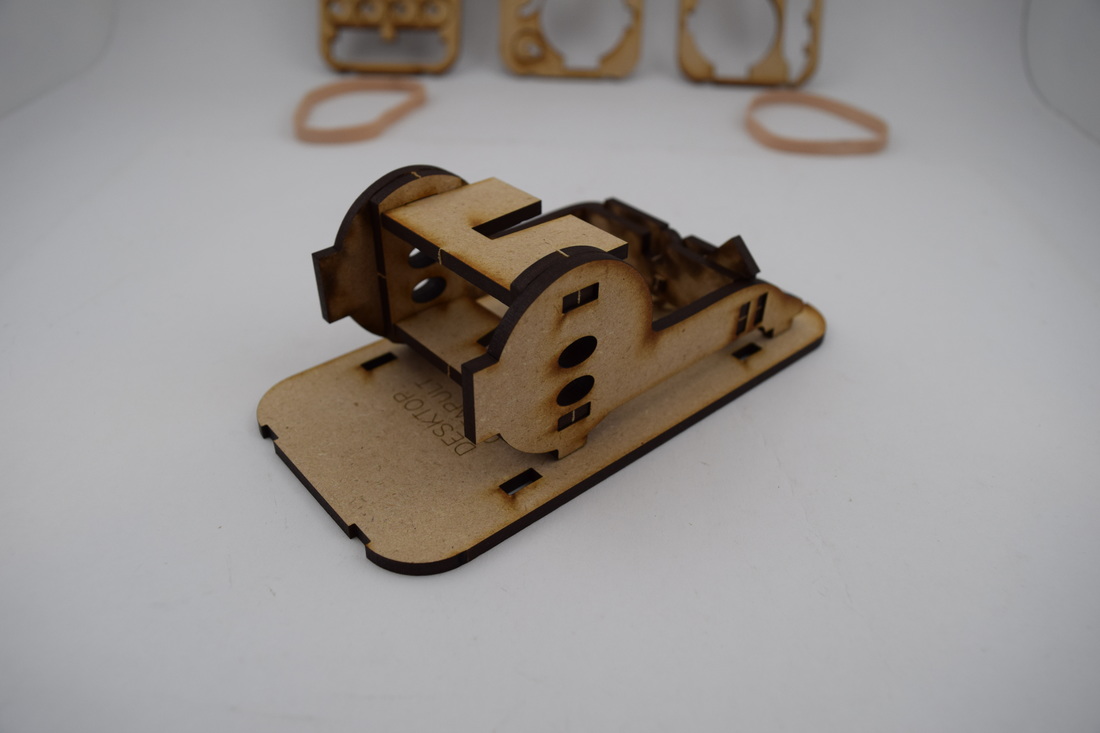
Step 5: Insert the latching assembly into the holes on the skinny end of the side piece. Then attach the second side piece to complete the main structure. This will take a little work to ensure all of the pieces are lined up correctly. Remember, they are designed to fit tightly together. If needed, a few gentle taps with the handle of a butter knife can get the pieces to connect completely. Once your main assembly is complete, it should fit onto the base plate. You can use a little glue when fitting the main assembly to the base plate if needed. When firing the catapult, there is a lot of upward force that can cause the main assembly to lift out of the base plate if it does not have a tight fit.
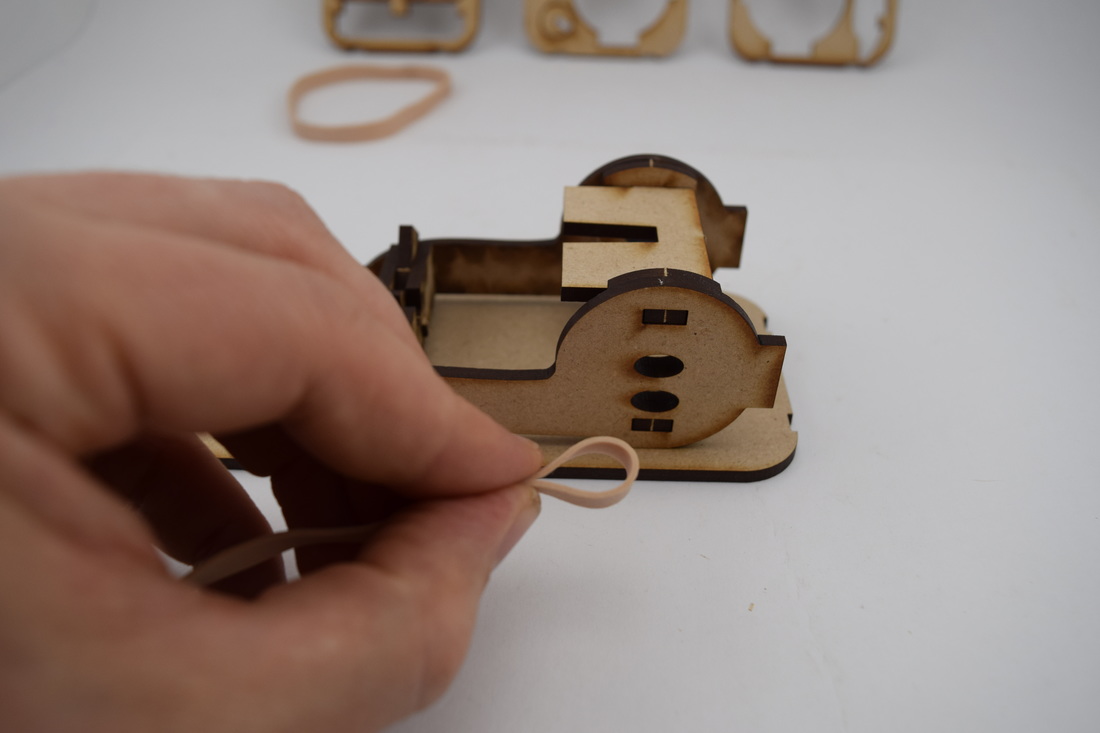
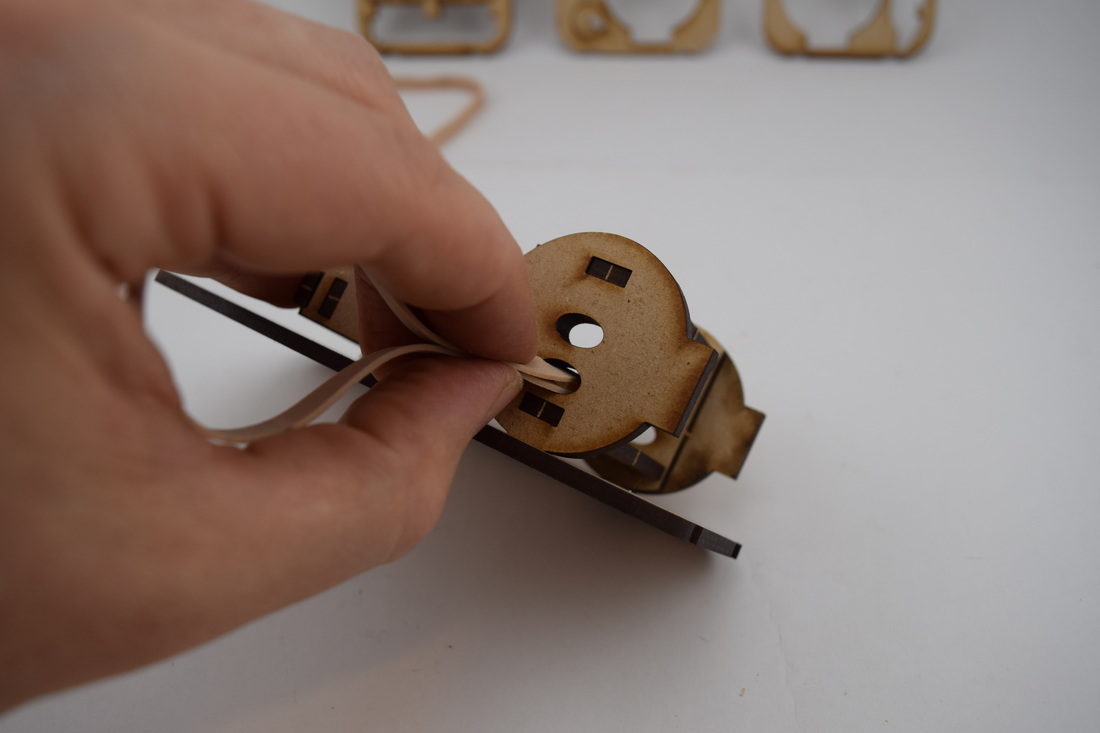
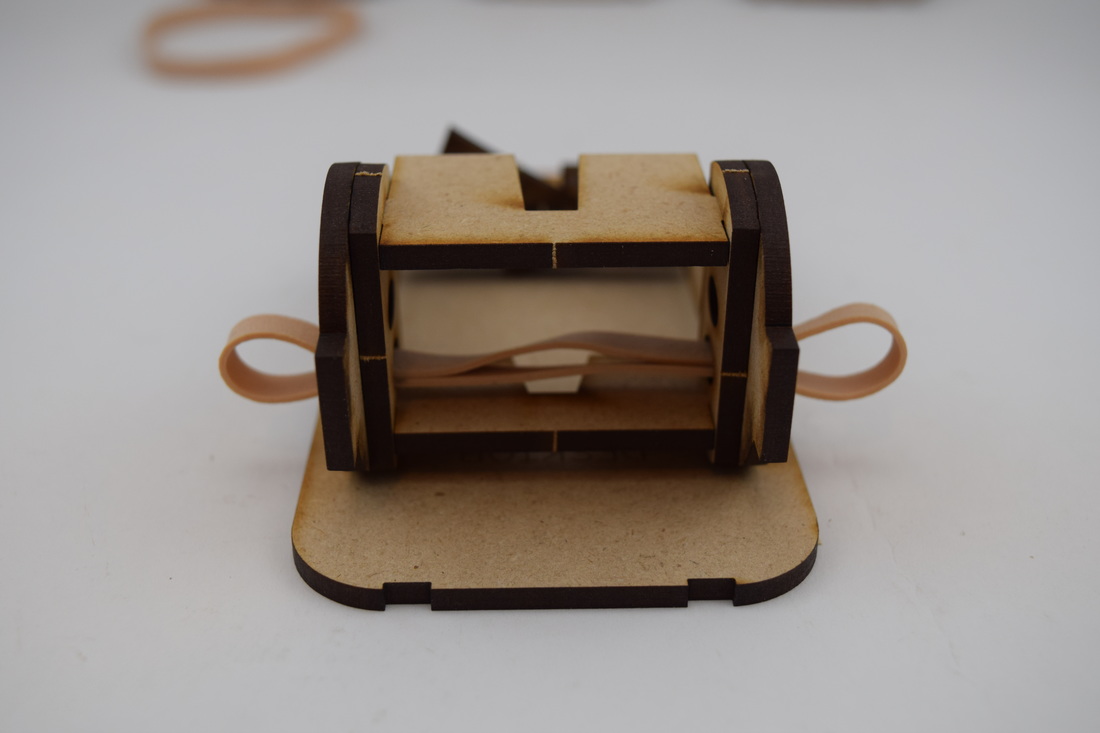
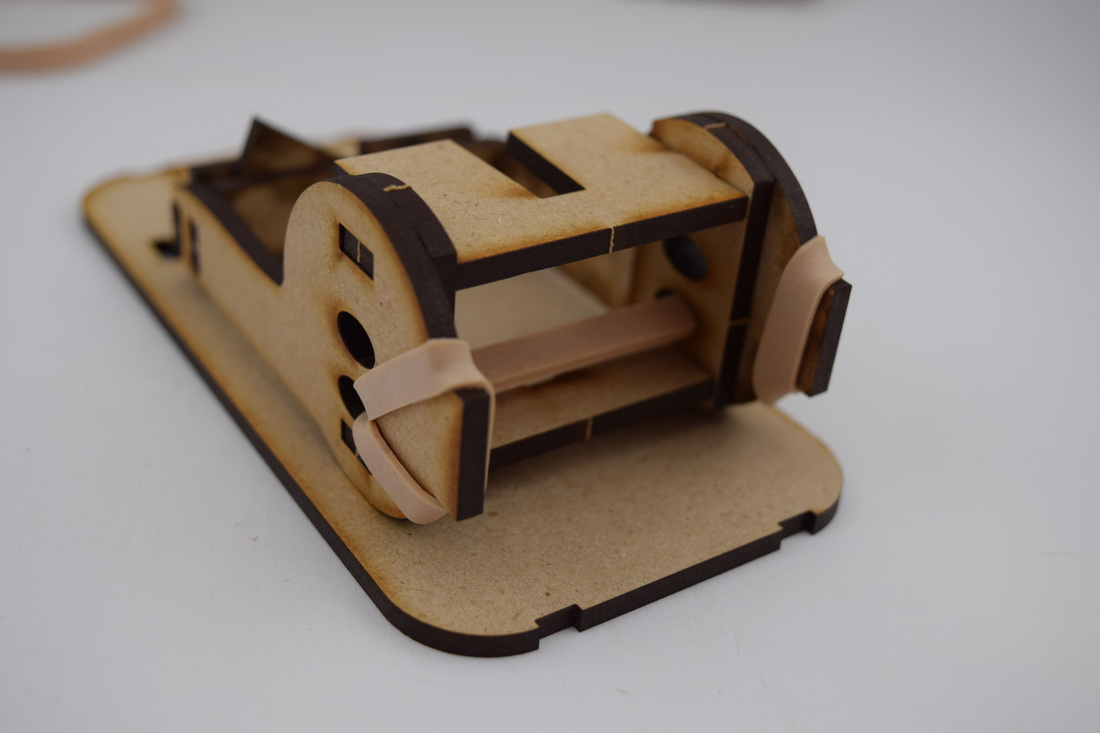
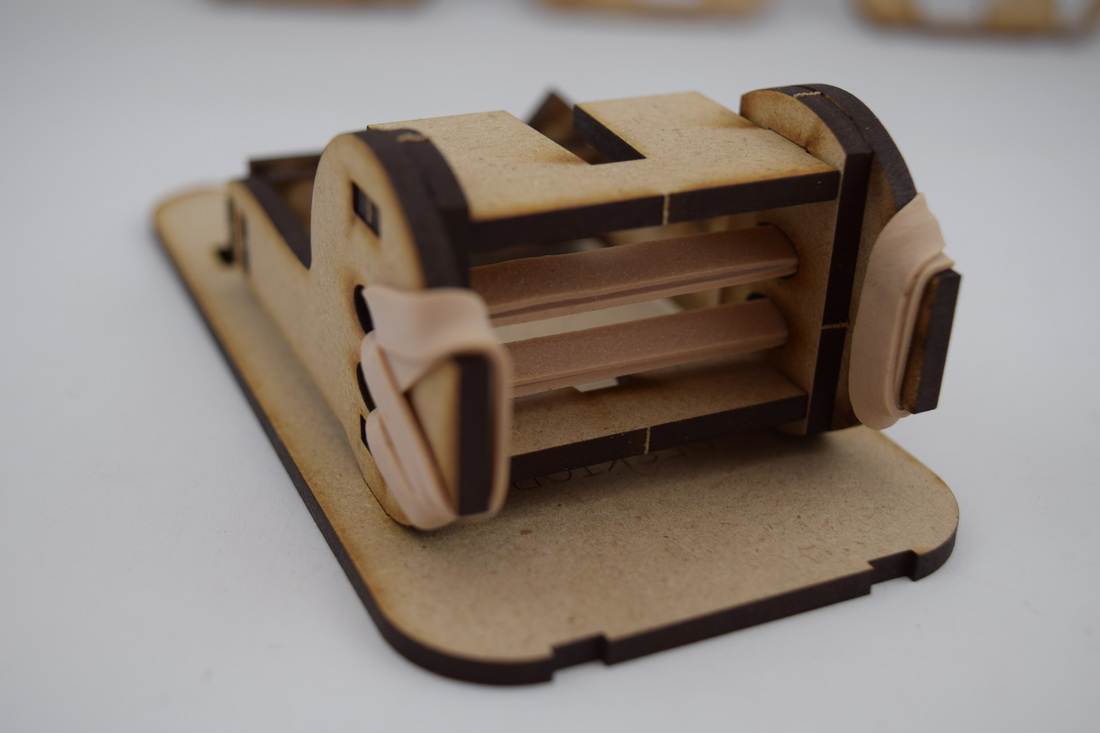
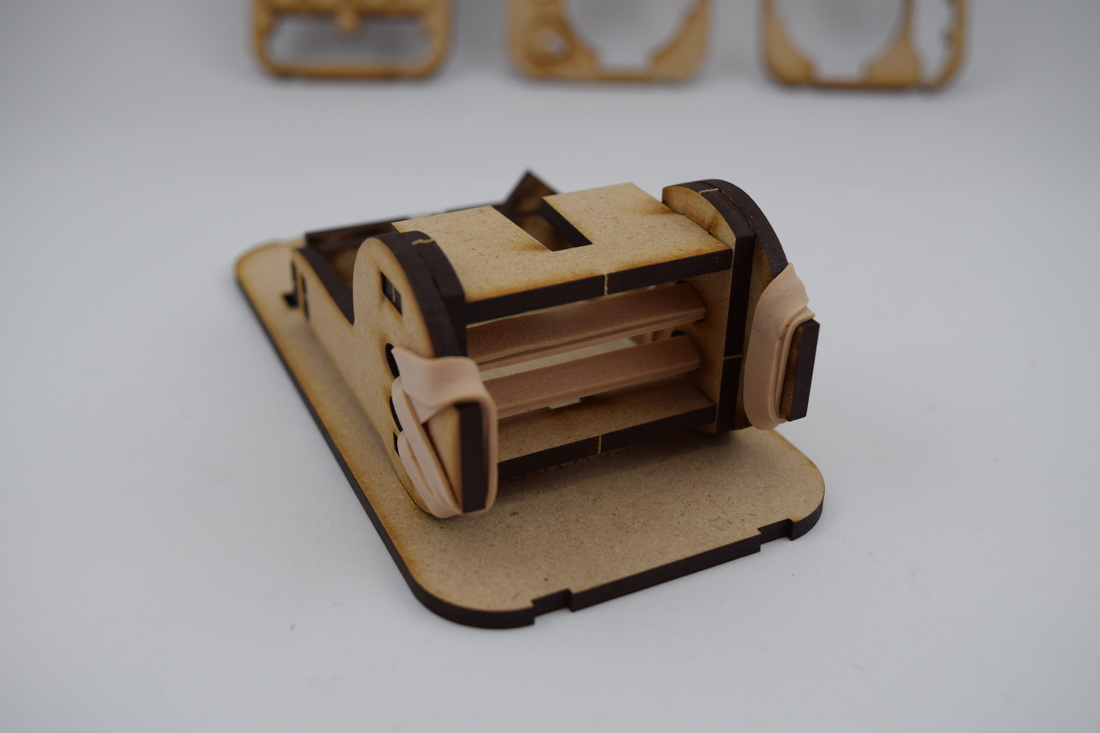
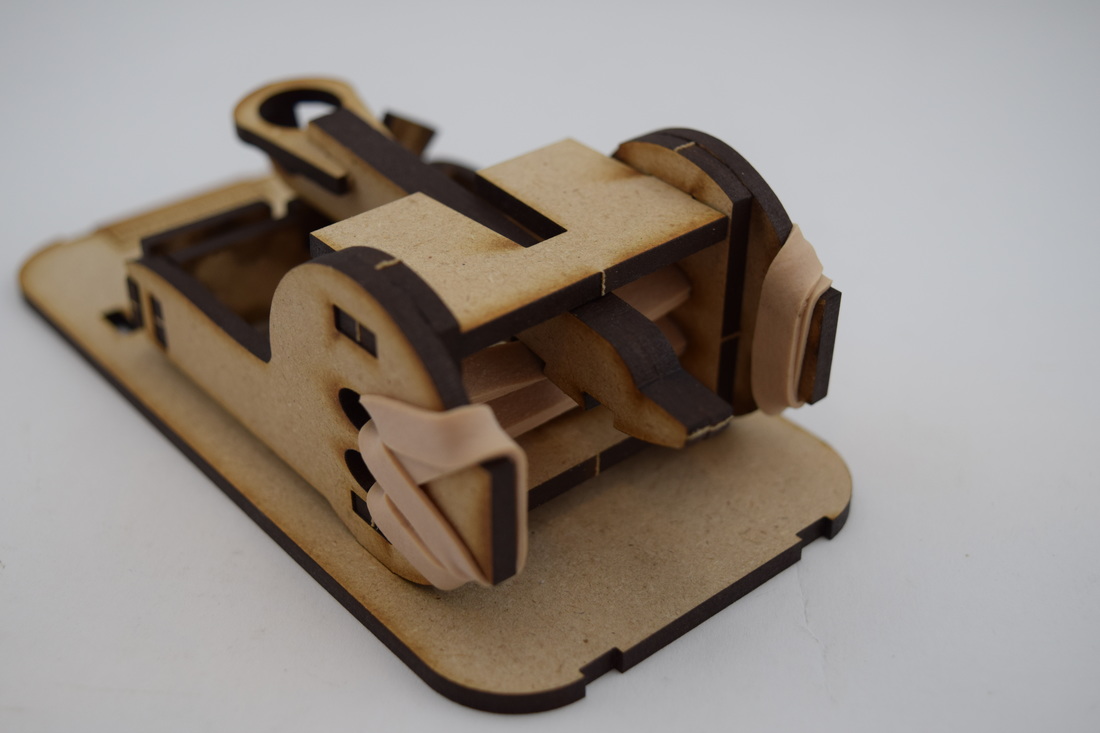
Step 6: String the rubber bands through the oval holes.
Step 7: Secure each end of the rubber bands around the rectangular knobs on the front of the assembly.
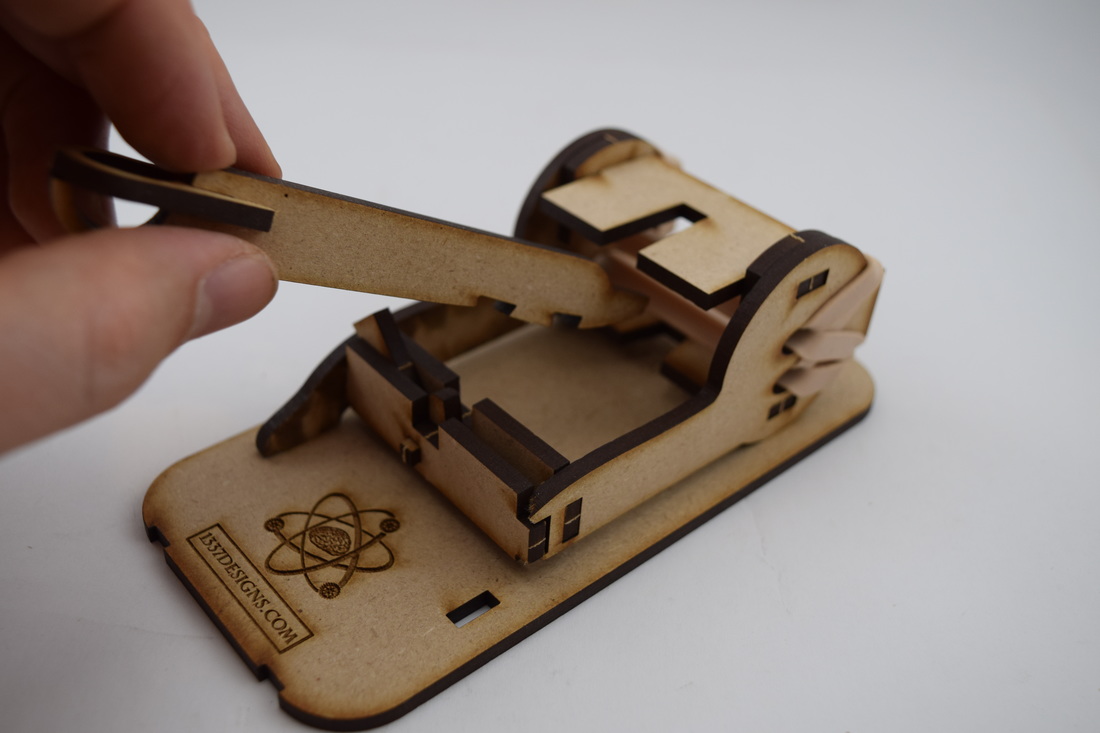
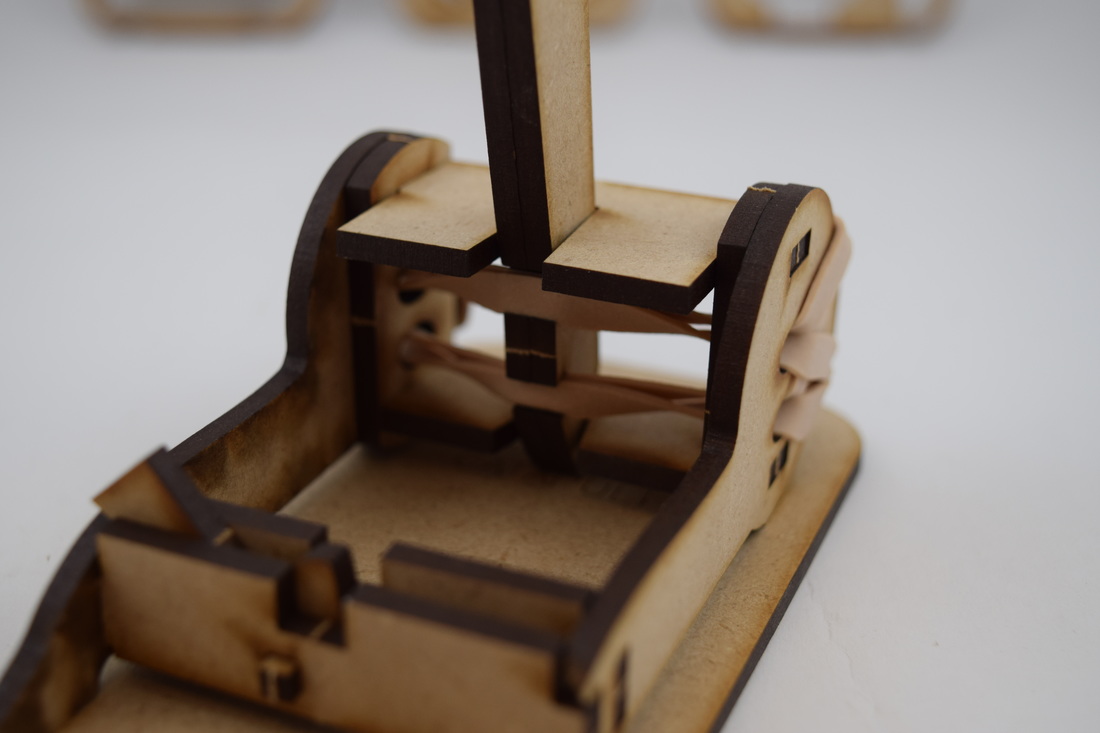
Step 8: Insert the catapult arm above the rubber bands, with the notches on the arm facing downward. Fit the top rubber band in the top notch, and the bottom rubber band in the bottom notch, then pull back slightly, and pry the bottom of the arm under the bottom crossbeam.
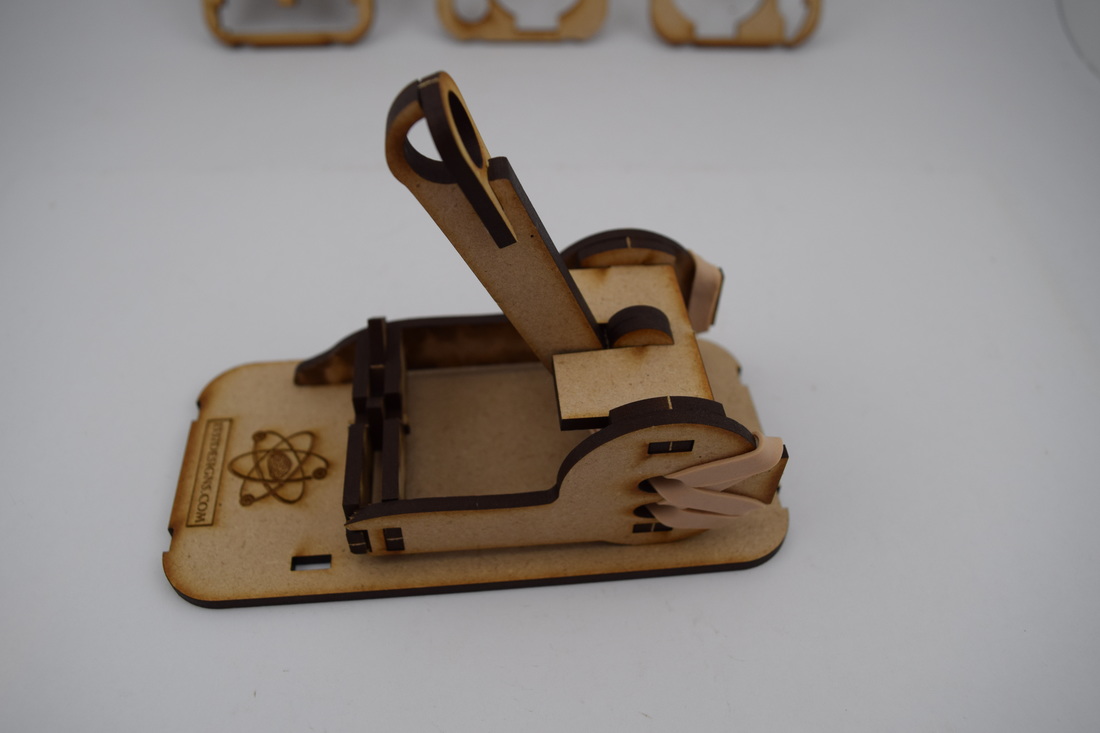
Congratulations; your desktop catapult is now complete! To operate, gently pull the arm down until it rests in the latching mechanism, and use your finger to engage the latch. Load a piece of ammunition (one of the wooden balls included in the kit, a marshmallow, or any other small projectile) into the basket. Aim, and press the release lever to fire your catapult. Two of the circular ammunition pieces can be used in the center of the top crossbeam to decrease the angle, and increase the arc of your projectiles if desired.

